How Make Lecterns: A Step-by-Step DIY Guide
A lectern is a vital piece of furniture for public speaking. It holds notes, books, or devices at a comfortable height.
Building your own lectern can be a rewarding project. It’s not just about saving money. You get to customize it to your needs. Whether for a classroom, church, or conference, a lectern enhances presentations. In this guide, we will break down the steps to create a simple, sturdy lectern.
You’ll need basic tools and materials. Even if you’re new to woodworking, don’t worry. We’ll make it easy to follow. Let’s dive in and start building your perfect lectern!

Credit: www.pocketgamer.com
Materials Needed
Creating a lectern from scratch is both rewarding and functional. Before starting, gather all necessary materials. This ensures a smooth workflow and a solid final product.
Wood Selection
Choosing the right wood is crucial. Quality wood ensures durability and a beautiful finish.
- Pine: Affordable and easy to work with.
- Oak: Strong and has a rich texture.
- Maple: Smooth finish and sturdy.
Decide based on your budget and desired aesthetics.
Tools And Equipment
Having the right tools makes the process easier. Basic tools are enough for a simple lectern.
- Measuring tape: For accurate measurements.
- Saw: To cut the wood pieces.
- Drill: For making precise holes.
- Screwdriver: To assemble the parts.
- Sandpaper: To smooth rough edges.
Optional tools: For a more professional finish.
- Router: For decorative edges.
- Wood stain: To enhance wood color.
- Varnish: To protect the wood.
Credit: scalacube.com
Preparing The Wood
Creating a lectern involves several steps, but one of the most important is preparing the wood. Proper preparation ensures the lectern is sturdy and has a smooth finish. Below, we will break down the process into easy-to-follow steps.
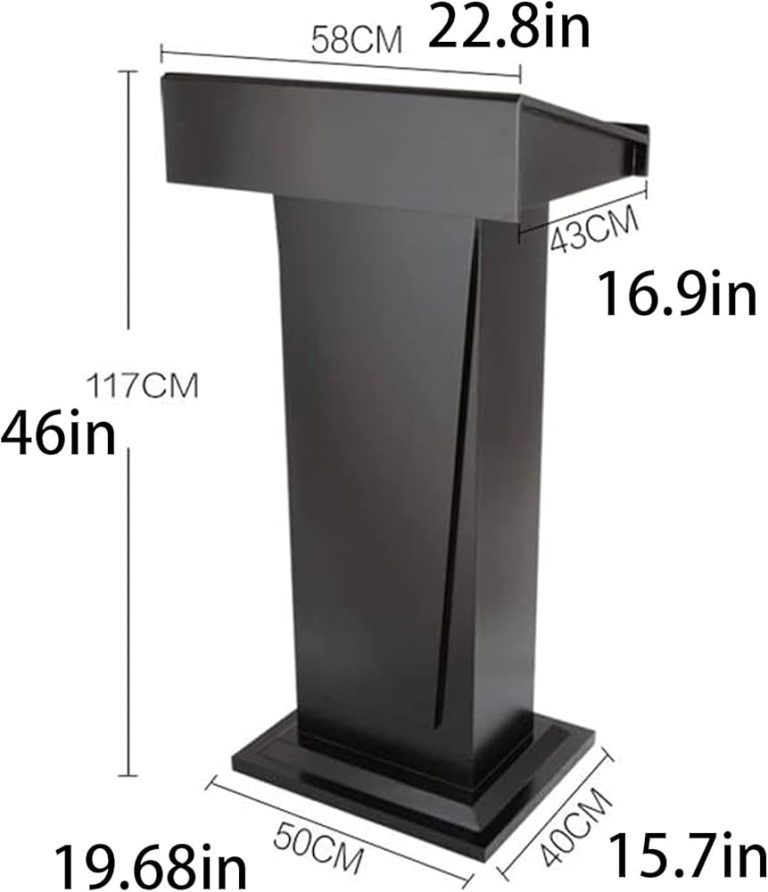
Measuring And Cutting
First, measure the dimensions of your lectern. Use a tape measure to ensure accuracy. Write down the measurements to avoid mistakes. Here’s a simple list of what you’ll need:
- Tape measure
- Pencil
- Wood
- Saw
After measuring, mark the wood with a pencil. Double-check your measurements to ensure they are correct. Next, use a saw to cut the wood according to your marks. Make sure to cut slowly for clean edges. Keep your hands safe and use protective gear.
Sanding And Smoothing
Now that you have your wood pieces, it’s time to sand and smooth them. Sanding removes rough edges and splinters. You will need:
- Sandpaper (various grits)
- Electric sander (optional)
- Soft cloth
Start with coarse-grit sandpaper to shape the edges. Move to medium-grit to smooth the surface. Finish with fine-grit for a polished look. If you have an electric sander, it will make the job quicker. Always sand in the direction of the grain. Wipe the wood with a soft cloth to remove dust.
By taking these steps, you’ll have wood pieces that are ready for the next stage of building your lectern. Proper preparation sets the foundation for a successful project.
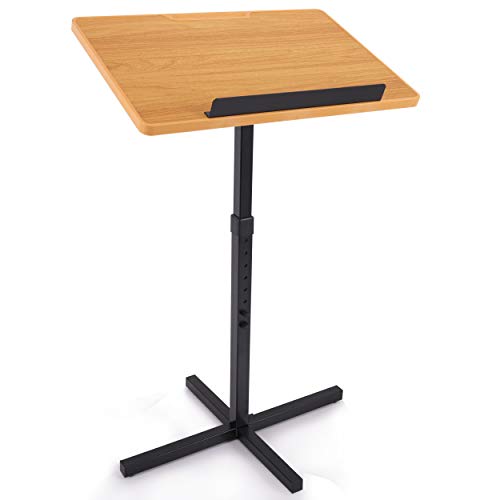
Assembling The Lectern
Assembling the lectern is a simple and rewarding process. This guide will walk you through the steps of building the base and attaching the stand. Follow these steps to create a sturdy and functional lectern for your presentations.
Building The Base
The base provides stability to your lectern. You will need a flat, strong piece of wood or metal. Cut it to your desired size, ensuring it is wide enough to support the stand.
Here’s a quick checklist for building the base:
- Measure and cut the base material.
- Sand the edges to avoid splinters.
- Drill holes for the stand attachment.
Ensure the base is level. Use a spirit level to check. This will help keep the lectern stable on uneven surfaces.
Attaching The Stand
The stand connects the base and the top platform. Use a strong, durable material for the stand.
Follow these steps to attach the stand:
- Align the stand with the pre-drilled holes on the base.
- Insert screws through the holes and into the stand.
- Tighten the screws using a screwdriver.
Check that the stand is secure. Give it a gentle shake to ensure it does not wobble. This ensures the lectern can handle the weight of your materials.
Once the stand is attached, you can proceed to add the top platform. This completes the basic structure of your lectern.
Remember to keep all your tools handy and work in a well-lit area. This makes the process easier and safer.
Finishing Touches
After assembling the lectern, the final steps involve adding the finishing touches. These details can transform a simple lectern into a stunning piece of furniture. Here are some ways to add those finishing touches.
Painting Or Staining
Painting or staining the lectern gives it a polished look. Choose a color or stain that matches your decor. Sand the surface of the lectern smoothly before applying paint or stain. This helps the paint or stain adhere better. Use a primer if you are painting. Apply thin, even coats and let each coat dry completely. For staining, apply the stain with a brush or rag. Wipe off excess stain to achieve the desired shade. Seal the paint or stain with a clear finish to protect the surface.
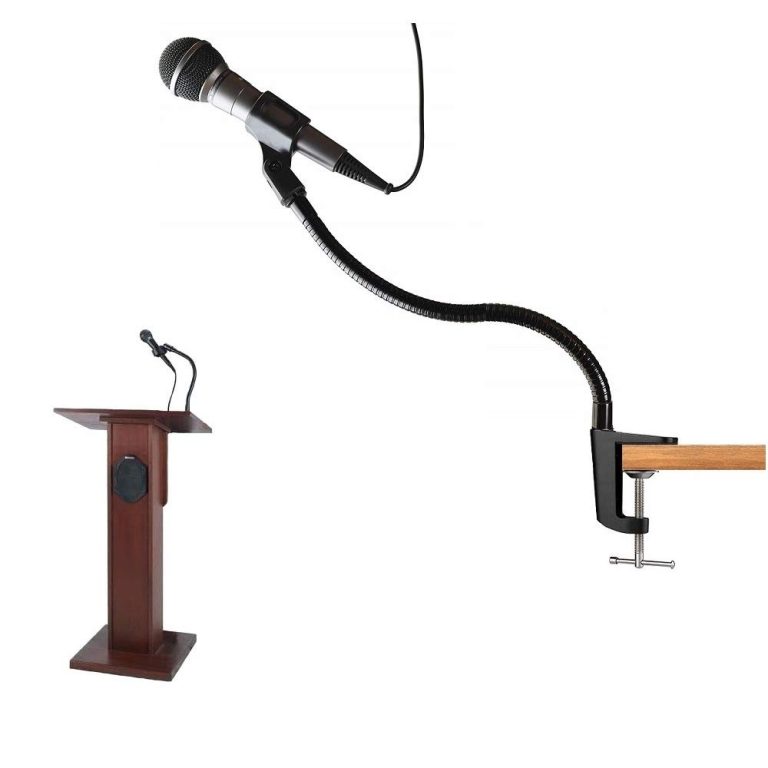
Adding Decorative Elements
Adding decorative elements can enhance the lectern’s appearance. Consider adding trim or molding for a classic look. Attach decorative hardware, such as brass corners or handles. Carve or etch designs into the wood for a unique touch. Use stencils to add patterns or symbols. Apply decals or stickers for a modern look. These small details can make your lectern stand out.

Credit: www.wikihow.com
Frequently Asked Questions
What Materials Are Needed To Make A Lectern?
You need wood planks and a bookshelf. Simple materials for a useful item.
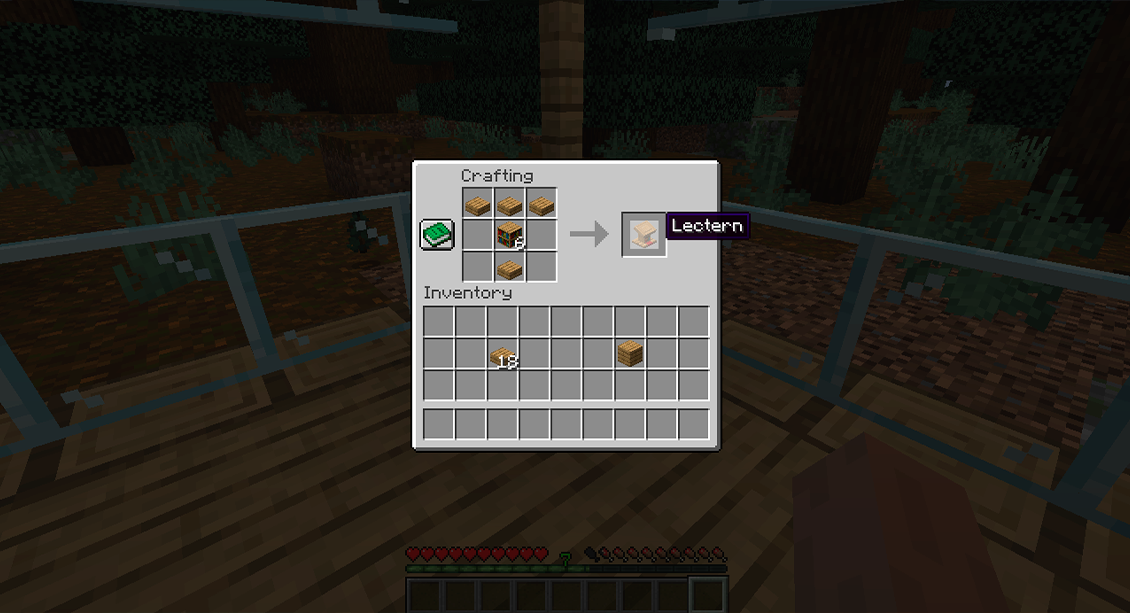
How Do I Craft A Lectern In Minecraft?
Place three wood planks on top row, bookshelf in middle, one wood plank on bottom.
Can I Use Any Wood For Making A Lectern?
Yes, you can use any type of wood planks. They all work the same.
Conclusion
Building your own lectern can be a rewarding project. It saves money and offers customization. Follow the steps for a sturdy and functional piece. Use quality materials for durability. Take your time and measure accurately. Enjoy the process and the result.
Your DIY lectern will surely meet your needs. Share your experience and inspire others. Happy crafting!