How to Improve Microphone Quality?
A clear microphone makes a big difference. Whether you talk on calls, record videos, or sing, good sound helps others hear you better. But many people have trouble with their microphone sound. The voice may sound fuzzy, quiet, or have noise. The good news? You can improve microphone quality with some simple steps.
Why Does Microphone Quality Matter?
Good microphone quality makes your voice clear. It helps others understand you without asking to repeat. Bad sound can make your message confusing. It can also make you sound less confident. So, a better microphone means better communication.
Common Problems with Microphone Sound
- Background noise like fans or traffic
- Voice sounds too soft or too loud
- Echo or feedback sounds
- Crackling or static noise
These issues are common. But fixing them is easy if you know what to do.
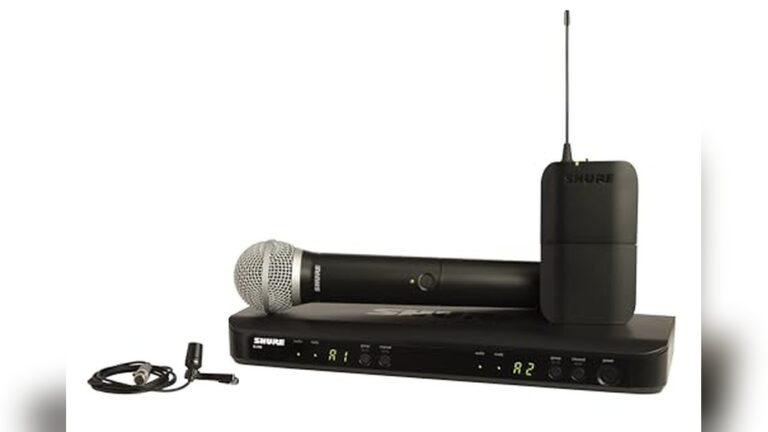
Step 1: Choose the Right Microphone
Not all microphones are the same. Some are better for talking, others for singing or instruments. Here are some common types:
| Microphone Type | Best For | Notes |
|---|---|---|
| Built-in Mic | Casual calls, quick chats | Easy to use but less clear |
| USB Mic | Streaming, podcasts, recordings | Better sound, easy to connect |
| Condenser Mic | Studio recording, singing | Very clear, needs quiet room |
| Dynamic Mic | Live shows, noisy places | Good noise control |
Try to get a microphone that fits your need. A cheap mic can sound bad. But a good mic helps your voice shine.
Step 2: Place the Microphone Correctly
Where you put the mic matters a lot. Here are some tips:
- Keep the mic 6 to 12 inches from your mouth.
- Do not speak too close. It causes popping sounds.
- Speak directly toward the microphone.
- Avoid touching the mic while talking.
Good placement makes your voice clear and loud enough. It also reduces noise and echo.
Step 3: Use Pop Filters and Windscreens
Pop sounds happen when you say words with “P” or “B”. They make a strong air burst. A pop filter helps stop this air from hitting the mic. It looks like a thin cloth or mesh screen.
Windscreens are foam covers. They stop wind and breath sounds. Use them if you record outside or in a windy room.
Both tools cost little but improve sound a lot.
Step 4: Reduce Background Noise
Noise makes your voice hard to hear. Turn off fans, air conditioners, or noisy devices. Close windows to block outside sounds.
Record in a quiet room. Soft things like curtains, carpets, and pillows help absorb sound. This stops echo and noise.
If you cannot avoid noise, use noise-canceling microphones. They block unwanted sounds.

Credit: www.youtube.com
Step 5: Adjust Microphone Settings
Your computer or device has mic settings. Adjusting them can help a lot.
- Microphone Volume: Set volume to medium or high. Too low is hard to hear. Too high causes distortion.
- Microphone Boost: This option makes sound louder. Use it carefully to avoid noise.
- Noise Suppression: Turn this on if available. It reduces background noise.
Check settings in your system control panel or sound app.

Credit: www.wikihow.com
Step 6: Use Software to Improve Sound
Many apps can help make your voice sound better. They remove noise and echo automatically. Some popular programs include:
- Audacity (free audio editor)
- VoiceMeeter (audio mixer)
- Krisp (noise canceling app)
These tools work well if you record or stream often. They take some time to learn but help a lot.
Step 7: Keep Your Microphone Clean
Dirt and dust can lower microphone quality. Clean your mic regularly with a soft cloth. Avoid using water or liquid on the mic.
If your mic has a foam cover, wash it gently with soap and water. Let it dry fully before using again.
Step 8: Use an External Sound Card or Audio Interface
Built-in sound cards in computers may not give the best quality. An external sound card or audio interface can improve sound clarity. They help capture better audio signals.
This option is good if you want high-quality recordings. It is common for podcasters and musicians.
Step 9: Test Your Microphone
Always check your sound before important calls or recordings. You can use apps like Voice Recorder on your phone or computer.
Listen carefully. Check for noise, volume, and clarity. Adjust settings or mic position as needed.
Extra Tips for Better Microphone Quality
- Speak clearly and at a steady pace.
- Do not cover the mic with your hand.
- Use headphones to avoid echo from speakers.
- Keep your voice at a natural level. Do not shout or whisper.
Summary: Steps to Improve Microphone Quality
| Step | What to Do |
|---|---|
| 1 | Choose a good microphone for your needs |
| 2 | Place microphone 6-12 inches from your mouth |
| 3 | Use pop filters and windscreens |
| 4 | Reduce background noise in your room |
| 5 | Adjust microphone settings on your device |
| 6 | Use software for noise reduction and editing |
| 7 | Keep your microphone clean and dust-free |
| 8 | Consider external sound cards for better quality |
| 9 | Test your microphone before use |
Improving microphone quality is not hard. Small changes make a big difference. Try these steps to hear your voice clearly and sound better. Good sound helps you communicate well with friends, family, and work.
Frequently Asked Questions
How Can I Reduce Background Noise In My Microphone?
Use a noise-cancelling microphone or software to block unwanted sounds.
What Is The Best Distance From A Microphone To Speak?
Keep your mouth 6-12 inches away for clear and balanced sound.
How Does Room Acoustics Affect Microphone Quality?
Soft surfaces like curtains reduce echo and improve sound clarity.
Should I Use A Pop Filter With My Microphone?
Yes, it helps reduce popping sounds from letters like “P” and “B. “