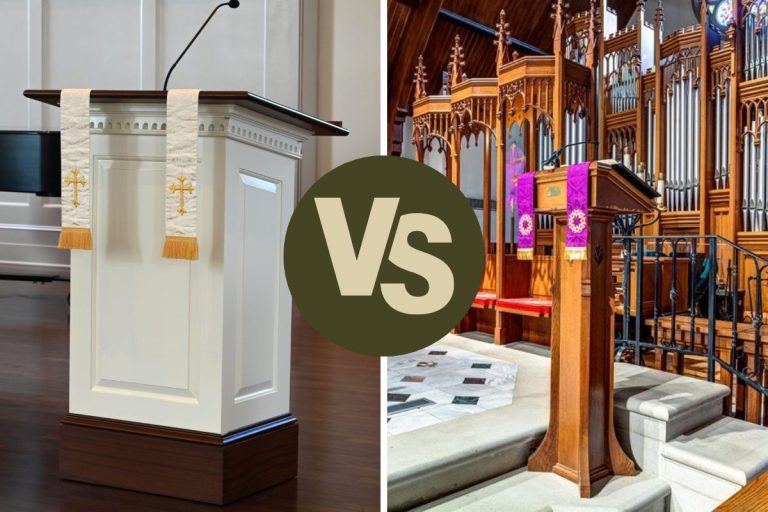
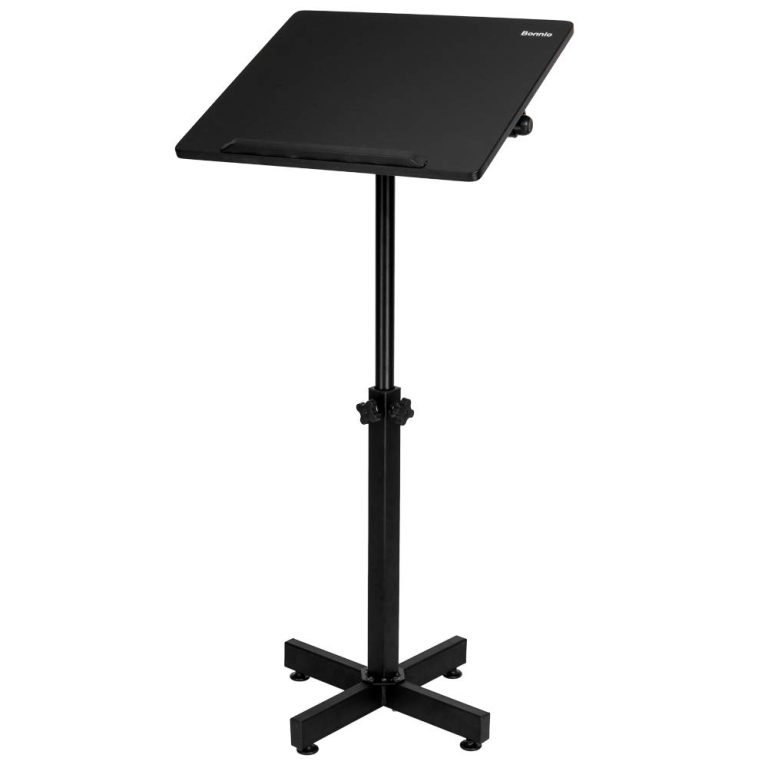
How to Build a Lectern Podium: Step-by-Step Guide
Building a lectern podium can seem challenging at first. But with the right guidance, it’s achievable for anyone.
A lectern podium is an essential piece of furniture for presentations, speeches, and lectures. Whether you need it for a classroom, church, or conference room, creating one yourself can save money and allow for customization. In this guide, we’ll walk you through the steps to construct a sturdy and professional-looking lectern podium.
We’ll cover the materials needed, the construction process, and tips for finishing touches. By the end, you’ll have a functional and attractive podium that meets your specific needs. Let’s get started!

Credit: www.pinterest.com
Materials And Tools
Building a lectern podium can seem like a daunting task. But with the right materials and tools, it becomes straightforward. This guide will help you gather everything you need.
Required Materials
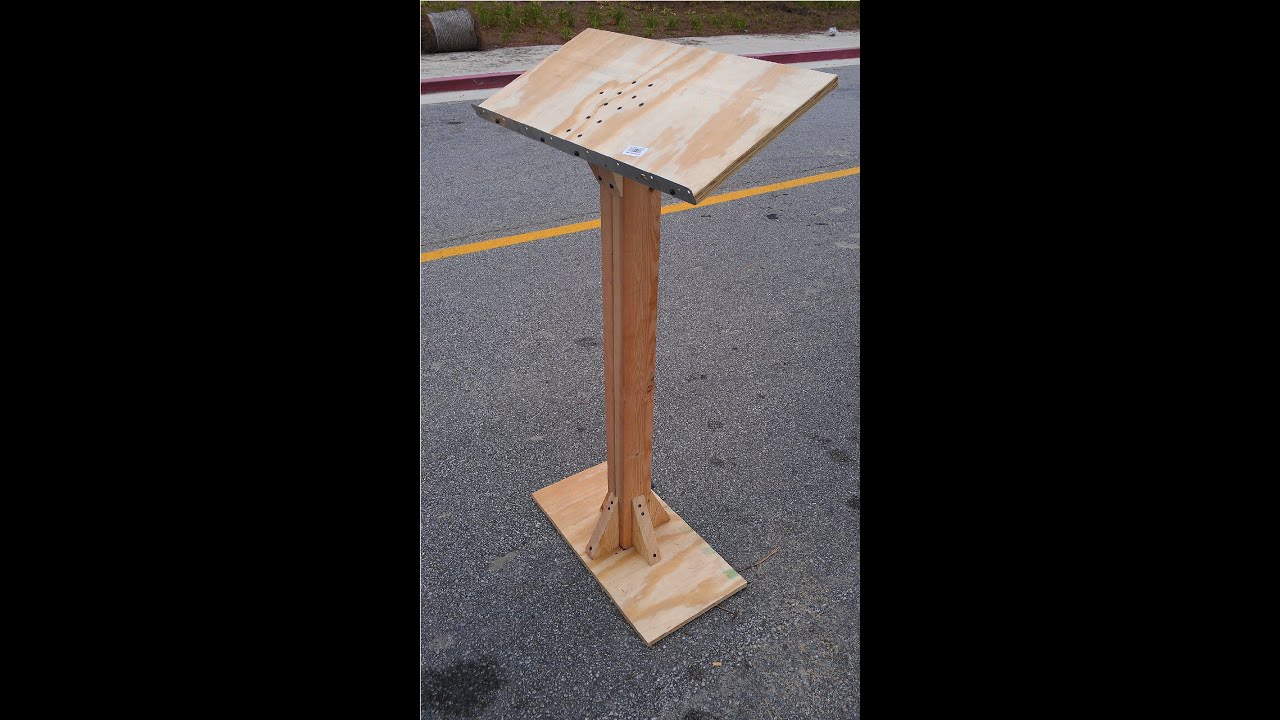
First, get a list of all the materials. You will need plywood for the main structure. Choose a sturdy type. Pick up some wood glue. You will also need screws. Use wood screws for better hold. Sandpaper is essential. It makes the surface smooth. Finally, get some paint or varnish.
Necessary Tools
Next, gather your tools. A saw is a must. It helps cut the plywood. Get a drill for making holes. A screwdriver is necessary for the screws. Use a measuring tape. It ensures your cuts are precise. A sander or sanding block will help smooth the wood. Finally, a paintbrush or roller will help apply the paint.
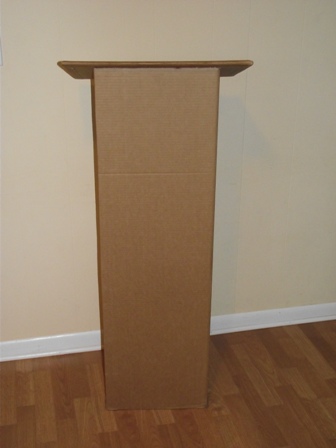
Credit: mollygreen.com
Designing The Podium
Designing a lectern podium is an important step in creating a functional and attractive piece. A well-designed podium ensures ease of use and enhances the speaker’s presence. Follow these steps to design your own podium.
Choosing Dimensions
The dimensions of your podium are crucial. They determine the comfort and usability for the speaker. Consider the average height and reach of potential users. A typical podium height is between 40 to 48 inches.
Width is also important. Ensure there’s enough space for notes and other materials. A width of 20 to 24 inches works well. Depth should be around 16 to 20 inches to accommodate a variety of items.
Creating A Blueprint
A blueprint is a detailed plan of your podium’s design. Start by sketching your ideas on paper. Include all dimensions and features. Think about the materials you will use.
Here is a simple table to help you outline your blueprint:
| Part | Dimensions | Material |
|---|---|---|
| Top Surface | 20″x24″ | Wood |
| Front Panel | 40″x20″ | Wood |
| Side Panels | 40″x16″ | Wood |
| Base | 24″x18″ | Wood |
Once you have the sketch, use design software to create a detailed blueprint. This will help ensure accuracy and precision in your build. Remember to include all joints and fastenings in your plan.
Building The Frame
Building the frame of your lectern podium is crucial. This step ensures stability and durability. A well-constructed frame makes the podium strong and long-lasting.
Cutting The Wood
Start by selecting high-quality wood. Measure and mark the wood according to your design. Use a saw to cut the wood pieces. Ensure the cuts are straight and smooth. Accurate cuts make assembly easier and the structure more stable.
Safety is important. Wear safety goggles and gloves while cutting the wood. This protects you from any accidents or injuries.
Assembling The Frame
Lay out all the cut pieces. Begin by joining the base pieces together. Use screws or nails to secure the joints. Ensure each piece fits snugly.
Next, attach the vertical supports to the base. These will hold the top surface of the podium. Check that the supports are level and even. This ensures the podium stands straight.
Finally, attach the top surface to the supports. Use screws to secure it firmly. Double-check all joints and connections. Tighten any loose screws for added stability.
Finishing Touches
The final steps in building a lectern podium are crucial. These finishing touches will give your podium a professional look. Let’s dive into the details.
Sanding And Painting
Start by sanding the entire podium. Use medium-grit sandpaper first. This will smooth out rough edges. Switch to fine-grit sandpaper for a polished finish.
After sanding, clean the surface with a damp cloth. This removes any dust. Now, it’s time to paint. Choose a high-quality paint suitable for wood.
Apply a primer coat first. Let it dry completely. Then, apply two coats of your chosen paint. Allow each coat to dry fully before applying the next.
For a more durable finish, consider using a clear sealant. This will protect the paint from scratches and wear.
Adding Accessories
Consider adding accessories to enhance functionality. Here are a few ideas:
- Microphone Holder: Attach a microphone holder for presentations.
- Lighting: Install a small light for better visibility.
- Document Clips: Use clips to hold papers in place.
- Wheels: Add wheels for easy movement.
Ensure these accessories are securely attached. Use screws or strong adhesive as needed.
These finishing touches will make your lectern podium both functional and attractive.

Credit: www.youtube.com
Frequently Asked Questions
What Materials Do I Need To Build A Lectern Podium?
You need plywood, screws, wood glue, and a saw. Basic tools are essential.
How Long Does It Take To Build A Lectern Podium?
Building a lectern podium usually takes about 4-6 hours. Depends on your skill level.
Can I Customize The Design Of The Lectern Podium?
Yes, you can paint, stain, or add features. Personalize it to fit your needs.
Conclusion
Building a lectern podium can be straightforward with the right steps. Plan carefully. Gather your materials. Follow the instructions provided. This project can enhance your presentation space. It adds professionalism. Plus, it offers a great DIY experience. Enjoy the process.
You’ll feel proud of your finished product. Share your new skill with others. Happy building!
