How to Optimize Microphone Quality?
Many people use microphones every day. Some use them for calls. Others use them for recording music or videos. But sometimes, the sound is not clear. It might be hard to hear or full of noise. This guide will help you make your microphone sound better.
Why Is Microphone Quality Important?
Good microphone quality helps people hear you well. It makes your voice clear and nice. If your mic sounds bad, others may not understand you. This is why learning how to improve mic quality is useful.
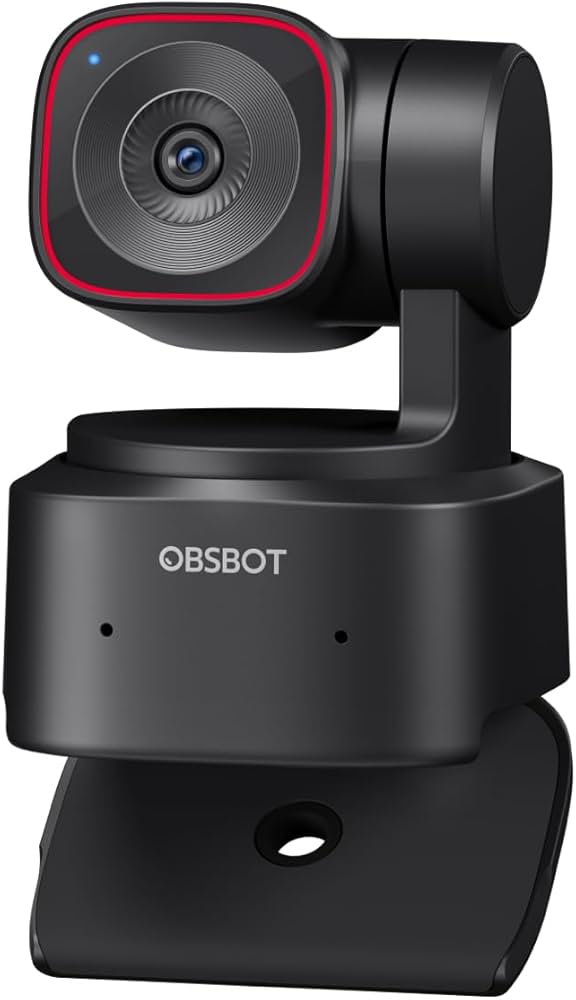
Credit: www.lewitt-audio.com
Types of Microphones
First, you should know about different microphones. There are many types:
- Built-in Microphones: These are inside laptops or phones.
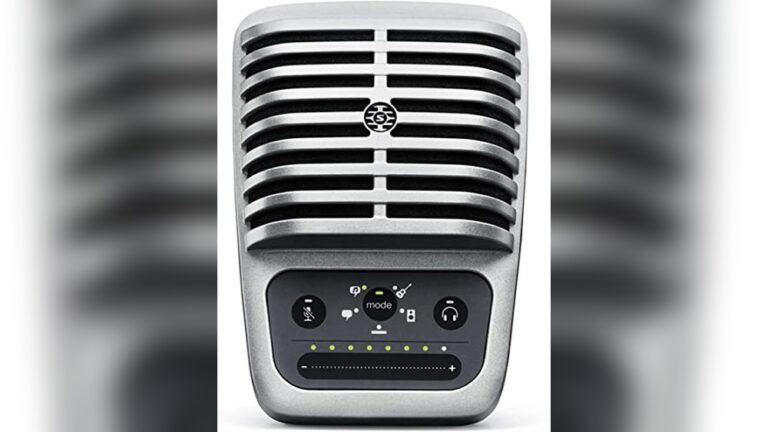
- USB Microphones: These plug into your computer via USB.
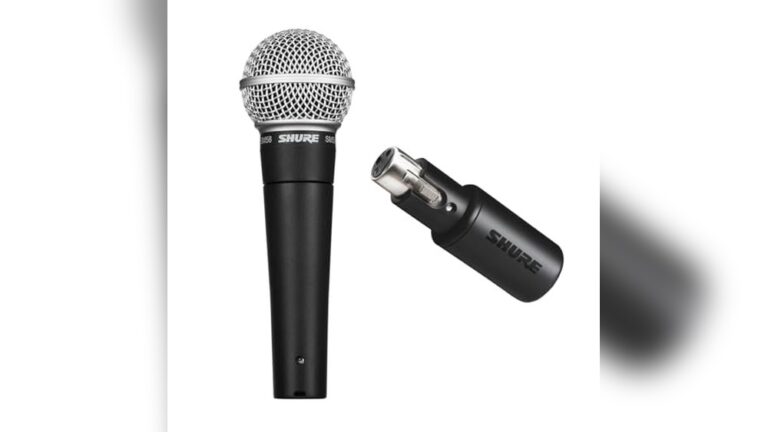
- Condenser Microphones: Used for clear, detailed sound.
- Dynamic Microphones: Good for loud sounds and noisy places.
Each mic works differently. Some are better for quiet rooms. Others work well in noisy places.

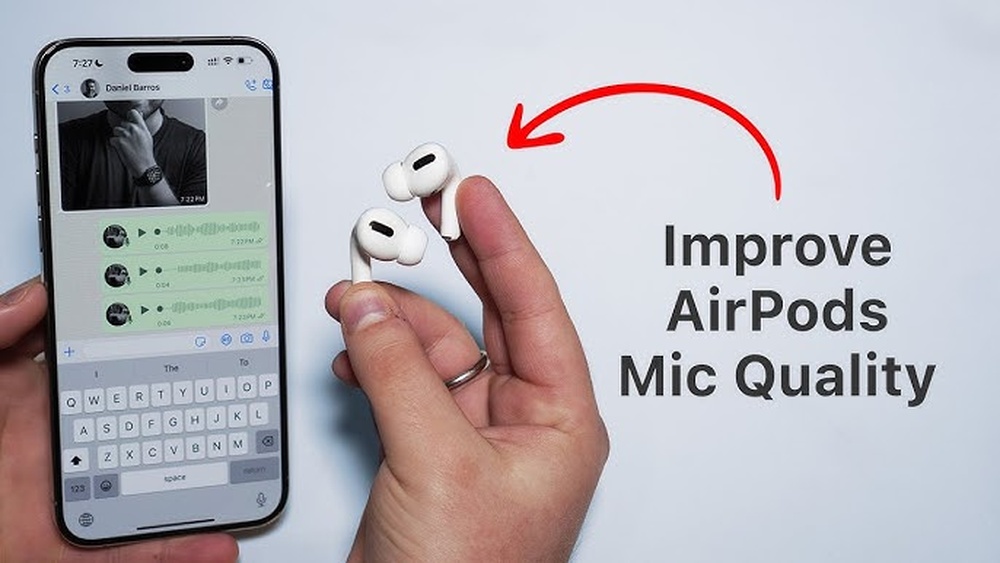
Credit: www.youtube.com
Step 1: Choose the Right Microphone
Pick a microphone that fits your needs. If you call often, a simple USB mic is fine. For music, a condenser mic is better. If you work outside or in noisy places, try a dynamic mic.
Remember: a good microphone is the first step to better sound.
Step 2: Find a Quiet Place
Where you use your microphone matters a lot. Sound bounces off walls, doors, and windows. This can make your voice echo or sound bad.
Try to use your microphone in a quiet room. Close windows and doors. Turn off fans or air conditioners. These make noise that the mic can pick up.
Step 3: Position Your Microphone Correctly
How you place your microphone changes the sound. If it is too far, your voice sounds weak. If it is too close, the sound can be too loud or poppy.
Here are some tips:
- Keep the mic about 6 to 12 inches from your mouth.
- Speak directly into the microphone.
- Avoid blowing air directly into the mic.
Try different positions until your voice sounds clear.
Step 4: Use a Pop Filter or Windscreen
Sometimes, your voice makes popping sounds. These happen when you say words with “P” or “B.” A pop filter helps stop these sounds.
A windscreen can stop wind noise if you record outside. Both are cheap and easy to use.
Step 5: Check Your Device Settings
Your computer or phone has sound settings. These control how your microphone works.
On a computer:
- Go to sound or audio settings.
- Find the microphone section.
- Make sure the correct microphone is selected.
- Set the input volume to a good level, not too loud or low.
On a phone:
- Check app permissions for microphone access.
- Adjust volume in the app if possible.
Good settings make your voice clear and loud enough.
Step 6: Reduce Background Noise
Background noise can make your voice hard to hear. It can be from fans, traffic, or people talking.
To reduce noise:
- Use noise-canceling headphones or microphones.
- Turn off noisy devices near you.
- Use software tools that remove noise. Many apps and programs have noise reduction features.
Less noise means better sound quality.
Step 7: Use Good Cables and Connections
If your microphone uses cables, check them well. Loose or broken cables can cause bad sound.
- Use quality cables made for your microphone.
- Plug cables in tightly.
- Avoid bending or twisting cables.
Good connections help keep sound clear.
Step 8: Keep Your Microphone Clean
Microphones can get dusty or dirty. Dust blocks sound and makes noise.
- Use a soft cloth to clean the mic.
- Do not use water or liquids on the microphone.
- Keep the mic covered when not in use.
Clean microphones work better and last longer.
Step 9: Record and Test Your Sound
After setting up, test your microphone. Record your voice and listen carefully.
Check for:
- Clear and loud voice.
- No strange noises or echoes.
- Good balance of sound.
If the sound is not good, try changing settings or mic position.
Step 10: Use Audio Editing Software
You can use free software to make your sound better. Programs like Audacity help you:
- Remove noise.
- Adjust volume levels.
- Add effects to improve clarity.
Editing your recordings can make a big difference.
Summary Table: Quick Tips to Optimize Microphone Quality
| Step | What to Do | Why It Helps |
|---|---|---|
| 1 | Choose the right microphone | Fits your needs and environment |
| 2 | Find a quiet place | Reduces echo and background noise |
| 3 | Place mic correctly | Captures clear voice sound |
| 4 | Use pop filter or windscreen | Stops popping and wind noise |
| 5 | Check device settings | Ensures correct mic and volume |
| 6 | Reduce background noise | Makes voice easier to hear |
| 7 | Use good cables | Prevents sound problems |
| 8 | Keep mic clean | Maintains good sound quality |
| 9 | Test your recording | Finds and fixes issues |
| 10 | Use editing software | Improves recorded sound |
Final Thoughts
Optimizing microphone quality is simple. It takes small steps but makes a big difference.
Start by choosing the right mic. Use it in a quiet place. Place it well. Use tools like pop filters. Check your device settings. Reduce noise and use good cables. Keep your mic clean. Test and edit your sound.
With these tips, your microphone will sound much better. People will hear you clearly. Your recordings will be easier to understand. Try these ideas today and enjoy better sound.
Frequently Asked Questions
How Can I Reduce Background Noise On My Microphone?
Use a noise-canceling microphone or move to a quiet room to cut unwanted sounds.
What Is The Best Distance From Microphone To Mouth?
Keep your mouth 6 to 12 inches away for clear and balanced sound.
How Do I Clean My Microphone For Better Sound?
Gently wipe the mic with a soft cloth to remove dust and dirt.
Does Microphone Placement Affect Audio Quality?
Yes, placing the mic correctly improves clarity and reduces echo or muffled sound.