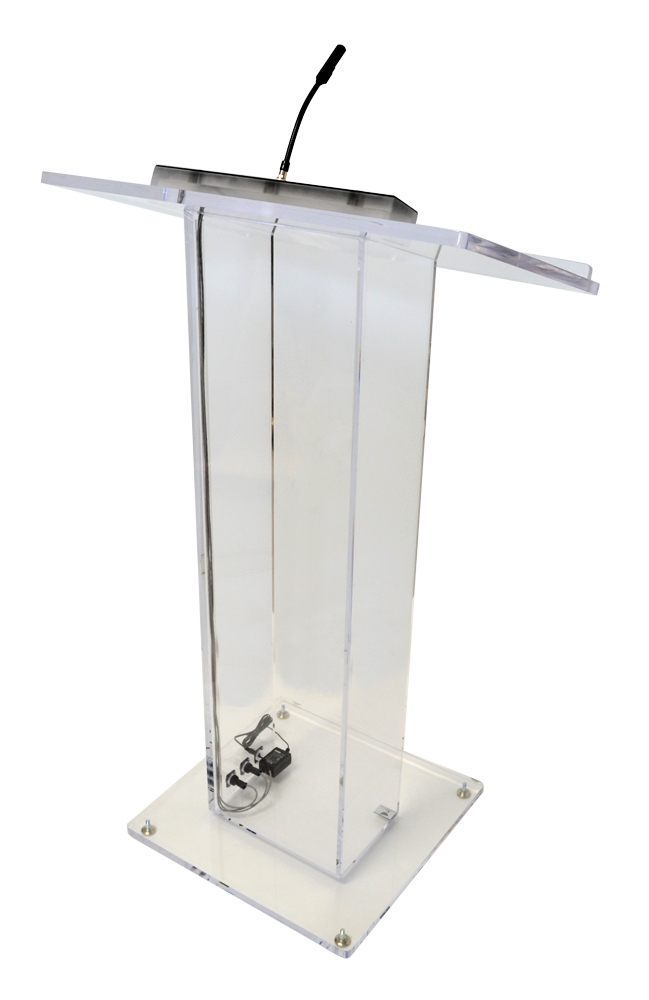
How to Mic a Lectern? Expert Tips for Clear Audio
Micing a lectern is simple but essential for clear audio. Place the microphone properly to capture the speaker’s voice.
Whether you are setting up for a conference, church service, or public speech, knowing how to mic a lectern is crucial. Good audio ensures that every word is heard, no matter the size of the room. Incorrect mic placement can lead to feedback, poor sound quality, and a distracted audience.
This guide will walk you through the steps to set up a microphone at a lectern effectively. You’ll learn about different mic types, placement techniques, and common mistakes to avoid. Clear audio can make or break an event, so let’s ensure your setup is flawless. Ready to dive in? Let’s get started.

Credit: www.reddit.com
Choosing The Right Microphone
There are different types of microphones. Dynamic mics are strong and tough. They work well in noisy places. Condenser mics are very sensitive. They capture small details. Lavalier mics are small and clip to clothes. They allow hands-free use. Shotgun mics are long and thin. They pick up sound from a distance.
Sound quality is crucial. Choose a mic that suits the speaker’s voice. Feedback can be a problem. Use a mic with good feedback control. Ease of use matters. Pick a mic that is simple to set up. Durability is key. The mic should withstand wear and tear. Cost is a factor too. Find a mic within your budget.
Optimal Mic Placement
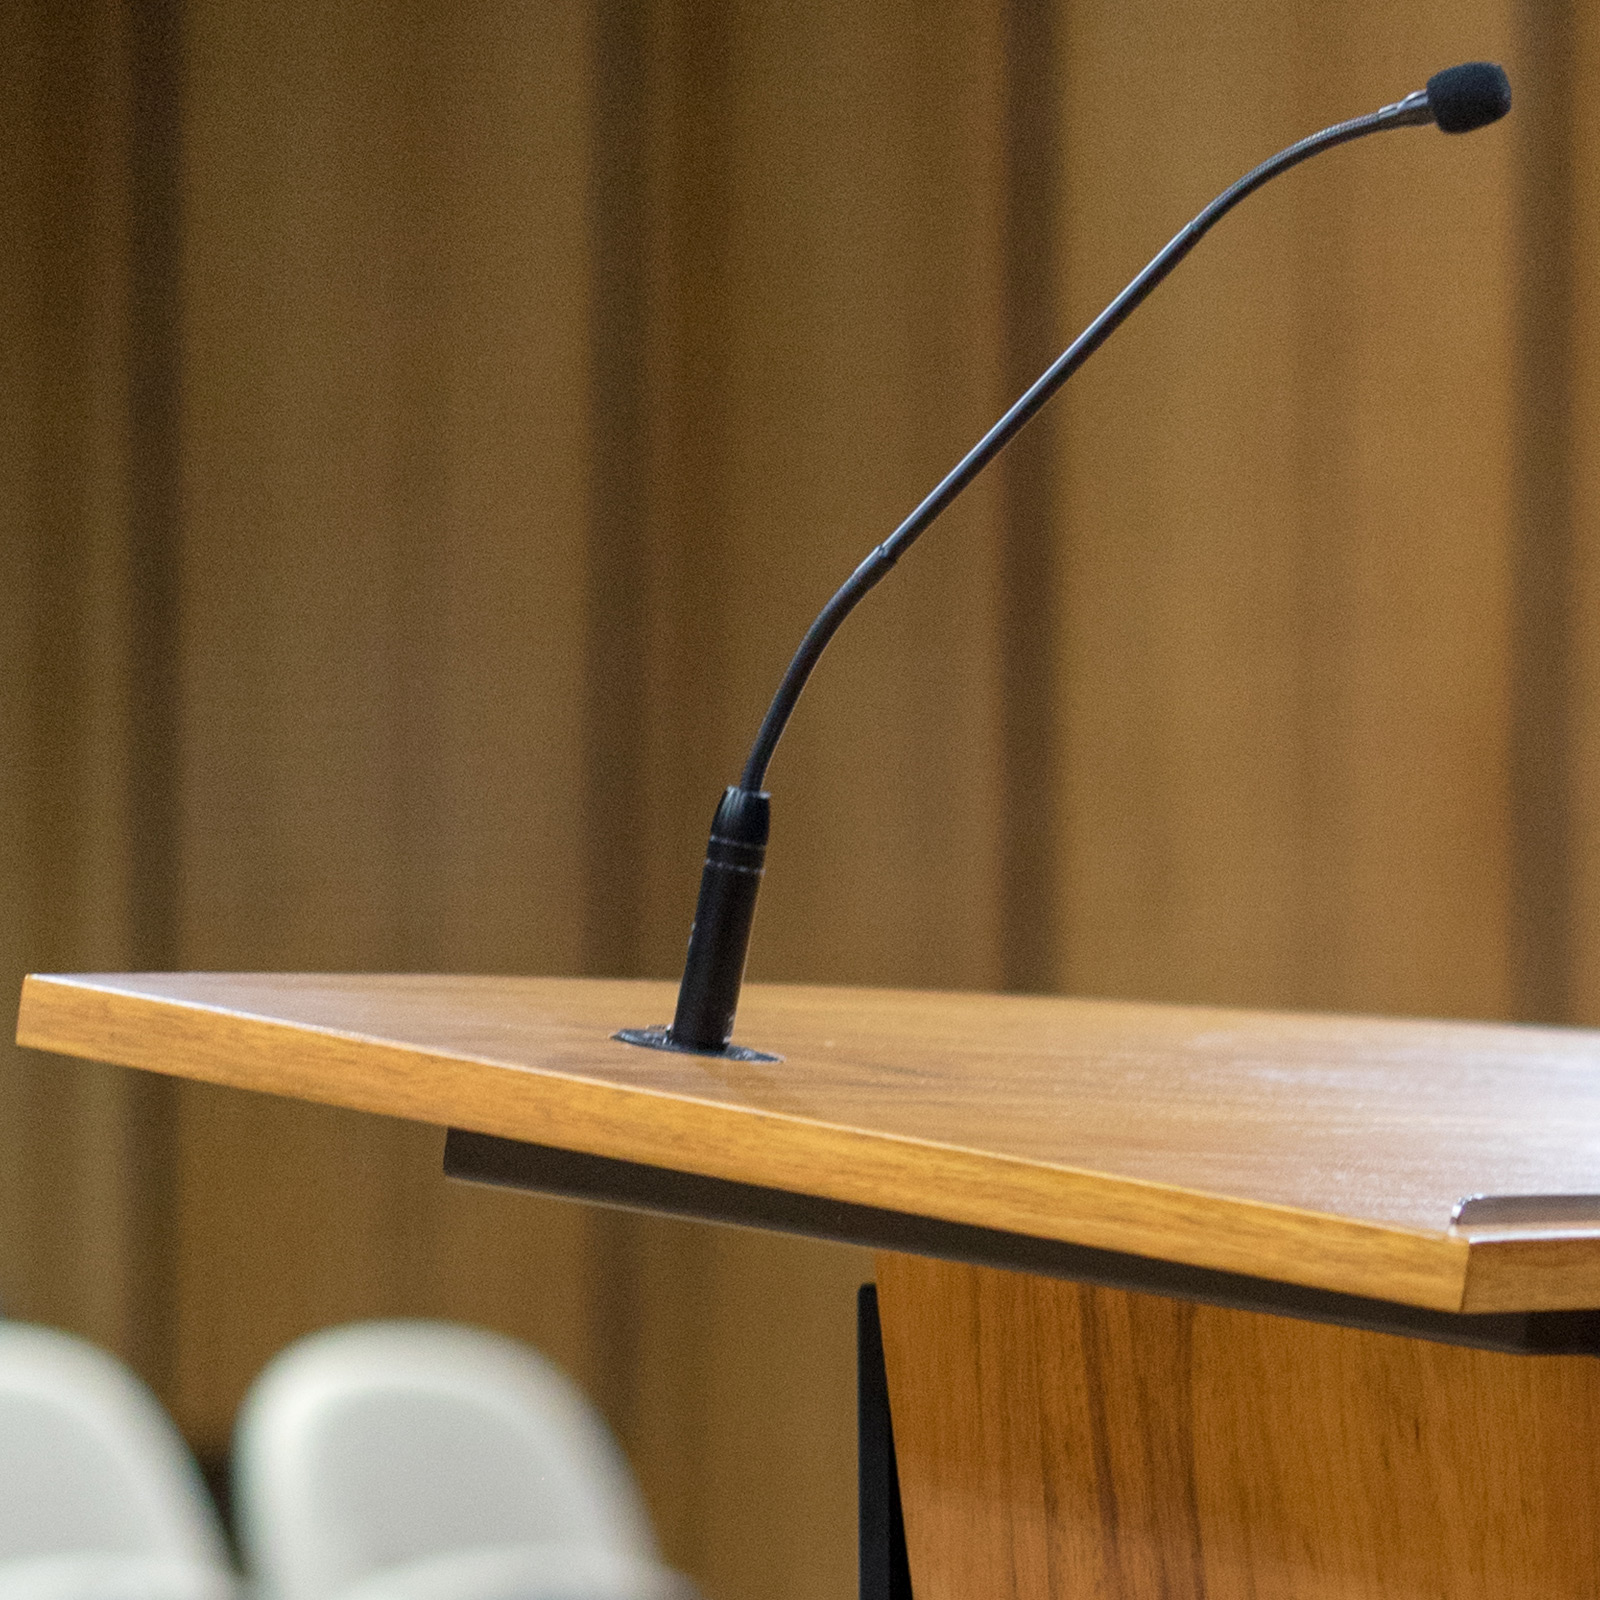
The mic should be around 6-12 inches from the speaker’s mouth. This distance helps capture clear sound. If too far, sound will be faint. If too close, it may distort. Keeping the right distance ensures better audio quality.
Set the mic at speaker’s mouth level. This captures the voice directly. Adjust the angle to point towards the mouth. It should not block the speaker’s face. A slight upward tilt helps. This setup provides the best sound quality. Avoid extreme angles.
Reducing Background Noise
Position the microphone close to the speaker’s mouth to reduce background noise. Aim the mic directly at the speaker. This helps capture clear audio.
Using Windscreens
Windscreens help reduce unwanted noise. They block wind and other sounds. Place the windscreen on the microphone. This will help improve audio quality. Windscreens are cheap and easy to use. Always keep a few spares.
Adjusting Sensitivity
Lower the microphone’s sensitivity. This helps to avoid picking up background sounds. Check the settings on the mixer. Adjust until the voice is clear. Test before the event begins. Make sure the sound is perfect.

Credit: www.podiumpros.com
Testing And Adjusting
Testing and adjusting are crucial steps to ensure a lectern mic captures clear sound. Fine-tune the mic’s position and volume for optimal audio quality.
Sound Check Procedures
First, ensure the mic is at the right height. Speak into the mic and listen. Adjust the mic if necessary. Check for any feedback or noise. Make sure the sound is clear. Ask someone to help with this. It’s easier with two people. One can speak, the other listens.
Making Real-time Adjustments
During the event, keep an ear on the sound. Adjust the mic if needed. Sometimes speakers move. Move the mic with them. Ensure the volume is neither too high nor too low. Listen for any issues. Fix them as soon as possible. It’s important to keep the audience happy. Good sound makes a big difference.

Credit: podionglobal.com
Frequently Asked Questions
What Type Of Microphone Is Best For A Lectern?
A cardioid microphone is best. It captures sound from the front and reduces background noise.
How Do You Position A Microphone On A Lectern?
Place the microphone 6-12 inches away from the speaker’s mouth. Angle it slightly towards the speaker.
Should I Use A Wireless Or Wired Microphone For A Lectern?
Both work well. Wireless offers more mobility, while wired ensures a stable connection. Choose based on needs.
Conclusion
Miking a lectern can be simple with the right steps. Choose a good microphone and position it correctly. Test the sound to ensure clarity. Adjust as needed for the best audio. Remember, practice makes perfect. With these tips, your speech will be clear and engaging.
Your audience will appreciate the effort. Happy speaking!


