How to Make Microphone at Home?
Do you want to make a microphone at home? It is easy and fun. You can use simple things that you have around. A microphone helps to catch sounds. It changes sounds into electric signals. Then, you can hear sounds on a speaker or computer.

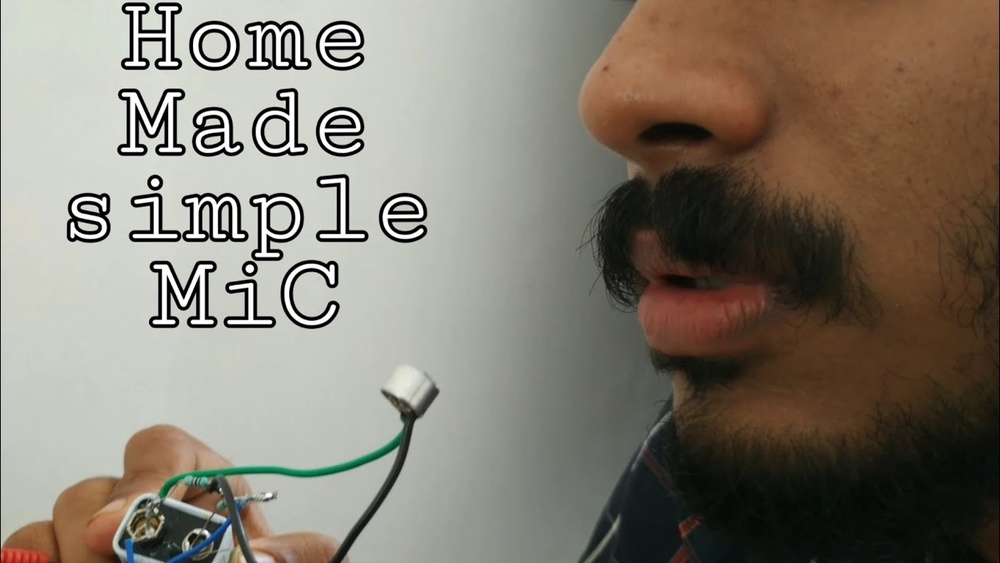
Credit: www.youtube.com
What You Need to Make a Microphone
Before you start, gather these things:
- A small plastic cup or paper cup
- A thin wire (like from old headphones)
- A small magnet (like from a fridge magnet)
- A coil of thin copper wire (about 30 feet)
- Scissors
- Tape
- A 3.5 mm audio jack (optional)
- A piece of cardboard (about 4 inches square)
Step 1: Make the Coil
The coil is very important. It catches sound waves and makes electric signals.
Take the thin copper wire. Wrap it around a round object. A pencil or pen works well.
Wrap the wire 50 to 100 times. Be careful not to let the wire overlap too much. Keep the coil neat.
Leave some wire free at both ends. These will connect to other parts later.
Step 2: Prepare the Diaphragm
The diaphragm is the part that moves when it hears sound. You can use the plastic or paper cup for this.
Cut a small circle from the bottom of the cup. About 2 inches wide.
This circle will be the diaphragm. It will move when sound hits it.

Credit: www.instructables.com
Step 3: Attach the Coil to the Diaphragm
Put the coil on the diaphragm circle. Use tape to fix it in place.
Make sure the coil is flat and secure. It should not move away from the diaphragm.
Step 4: Add the Magnet
Now, take the small magnet. Put it under the coil.
You can tape the magnet to the cardboard piece. Then, fix the diaphragm with coil on top of the magnet.
The coil should be very close to the magnet but not touching it.
Step 5: Connect the Wires
Take the two free ends of the copper wire from the coil. These are the signal wires.
If you have a 3.5 mm audio jack, connect the wire ends to the jack. This jack can plug into a phone or computer.
If you do not have a jack, just leave the wires ready to connect to other devices.
Step 6: Test Your Microphone
Now, it is time to test. Speak close to the diaphragm.
If you connected the jack, plug it into a phone or computer.
Use a sound recording app to listen. You should hear your voice.
If the sound is weak, check your coil. Make sure it is tight and neat.
How Does This Microphone Work?
Sound makes the diaphragm move. The coil moves with the diaphragm.
The coil near the magnet creates electric signals. These signals carry your voice sound.
The wires send the signals to the device. The device changes signals back to sound.
Tips for Better Sound
- Use thin copper wire for the coil.
- Wrap the coil tightly and with many turns.
- Keep the coil close to the magnet.
- Make sure the diaphragm can move easily.
- Use a quiet place to test your microphone.
Other Simple Microphone Ideas
You can try other ways to make microphones at home:
- Piezo Microphone: Use a piezo buzzer. Connect wires to it and use as microphone.
- Contact Microphone: Attach a small speaker to a surface. It picks up vibrations.
- Electret Microphone Capsule: You can buy these small parts and connect them to devices.
What Can You Do With Your Homemade Microphone?
Now that you have a microphone, you can try many things:
- Record your voice on a phone or computer.
- Use it to speak through a speaker.
- Make a simple radio or communication device.
- Learn more about sound and electronics.
Be Safe While Making Your Microphone
Always be careful with wires and sharp tools.
Ask an adult for help if needed.
Do not use parts that are broken or unsafe.
Summary Table: Materials and Their Uses
| Material | Purpose |
|---|---|
| Plastic or Paper Cup | Diaphragm that moves with sound |
| Thin Copper Wire | Coil that creates electric signals |
| Small Magnet | Creates magnetic field for coil |
| Cardboard | Base to hold magnet and coil |
| 3.5 mm Audio Jack | Connect microphone to device |
Final Words
Making a microphone at home is fun and simple.
You use common things and learn how sound works.
Try the steps one by one. Take your time.
Frequently Asked Questions
What Materials Do I Need To Make A Microphone At Home?
You need a coil, magnet, paper, wire, and a small amplifier or speaker.
How Does A Homemade Microphone Work?
It converts sound waves into electrical signals using a coil and magnet.
Can I Use Everyday Items To Build A Microphone?
Yes, simple household items like paper and wire can work well.
Is It Safe To Make A Microphone At Home?
Yes, making a basic microphone is safe with common materials and care.